Easy Configuration
 To use the VPN Online Test Environment, the only necessary configuration is to create your Virtual Hub and to register users. This configuration work can be done in your browser. To use the VPN Online Test Environment, the only necessary configuration is to create your Virtual Hub and to register users. This configuration work can be done in your browser.
Creating a Virtual Hub
To use the VPN Online Test Environment, the first thing you need to do is create a private Virtual Hub. To create your Virtual Hub on the system, please click the link below and enter a name for the hub.
The hub is instantly and automatically created, so you are free to use it immediately. There are no complicated forms or procedures.
Easy setup and administration
After you have created your Virtual Hub, you can log into the Virtual Hub administration page, to configure it.
Basic settings of the Virtual Hub can all be done on the administration pages.
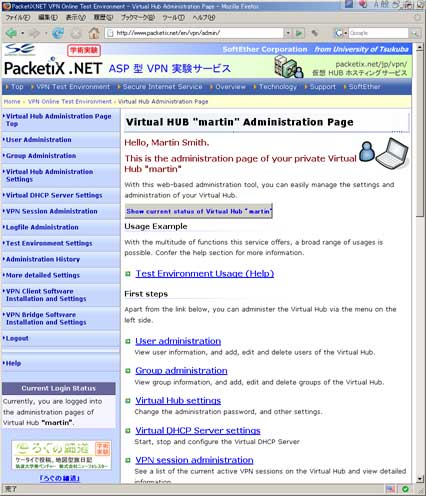
Web-based administration page
Virtual DHCP Server
In the standard settings, the Virtual DHCP Server of the Virtual Hub automatically assigns IP addresses to the virtual LAN cards of the client computers connected to it.
Refer to Chapter 3.7.5 of the PacketiX VPN Online Manual for details on the Virtual DHCP Server.
In the VPN Online Test Environment, IPs in the range from 192.168.30.10 to 192.168.30.200 are assigned by the Virtual Hub by default.
That way, an IP addresses is assigned to the virtual LAN card of each connected client computer, without the need for manual settings.
Still, the Virtual Hub administrator can deactivate the Virtual DHCP Server at any time if desired.
 Also see connecting two computers.
Back to Top of Help
|